Guest Post: Prep Your Space for Spring!

Well, hello there! I'm Sara, but my friends call me Bee. My love for interior design started around the age of 7, when I began insisting on rearranging my bedroom every week. After graduating from High Point University with a BS in Interior Design, I put my love for color and composition to the test with a career in visual merchandising. The Burrowing Bee first came about in 2011 as a creative outlet and homage to everything design. It's ever evolved since then, with the purchase of my first home, a 1940s bungalow in dire need of a fix-up. I've recently ventured out on my own in the hopes of helping people all over achieve the places and spaces of their dreams, while continuing to share as I create my own. Need help with your space, but don't know where to start? Let's set up a consultation, I'd love to help!

Prep Your Space for Spring!

The weather down south has been teasing us lately, 80 degrees here, 40 degrees there. Every day I wake up not knowing if I’ll be walking the dog in flip flops or cozy boots. Nevertheless, I’ve started getting ready for the warmer weather by taking these seasonal, never fail steps. Who doesn’t love a change of season! Here are four ways to prep your apartment for spring without spending a fortune!

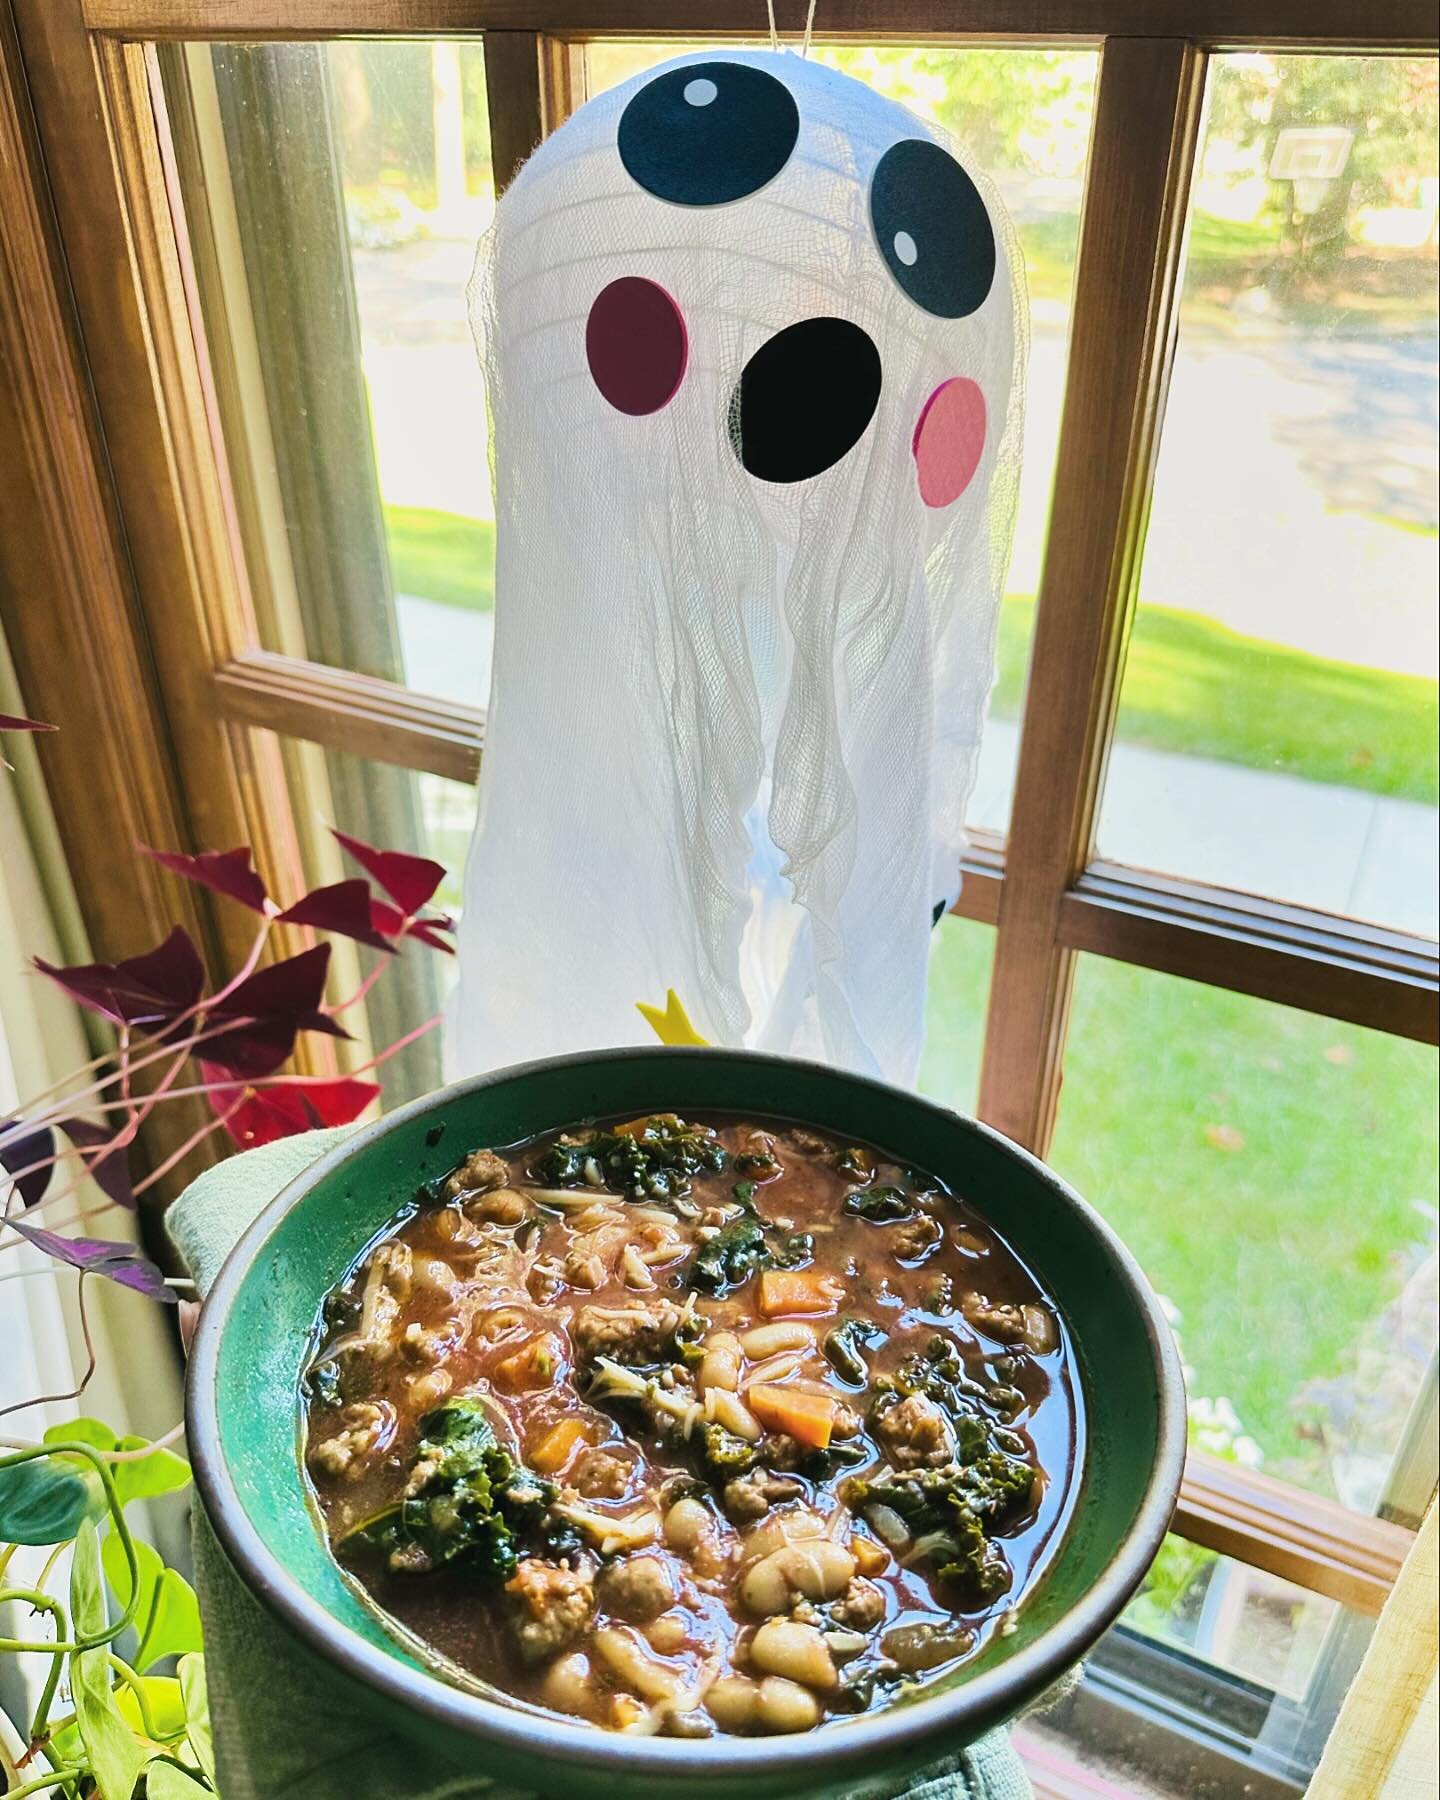
Step One: Add Greenery

Not only do plants liven up a space, but choosing the right ones can really clear up the air. Spider plants, English ivy, and rubber plants to name a few, are great oxygen creating choices. You can display them all together, or spread them out throughout the house for little lively points of interest.

Step Two: Lose the Layers

I love cozying up under a stack of blankets and pillows as much as the next person, but there’s something so refreshing about peeling away the layers. Fold up your blankets and keep them near by in a cute basket or on top of a side chair. You’ll still have easy access for those days when all you want to do is take a nap with the windows open. A coverlet or quilt is a great lightweight, spring option to keep handy!

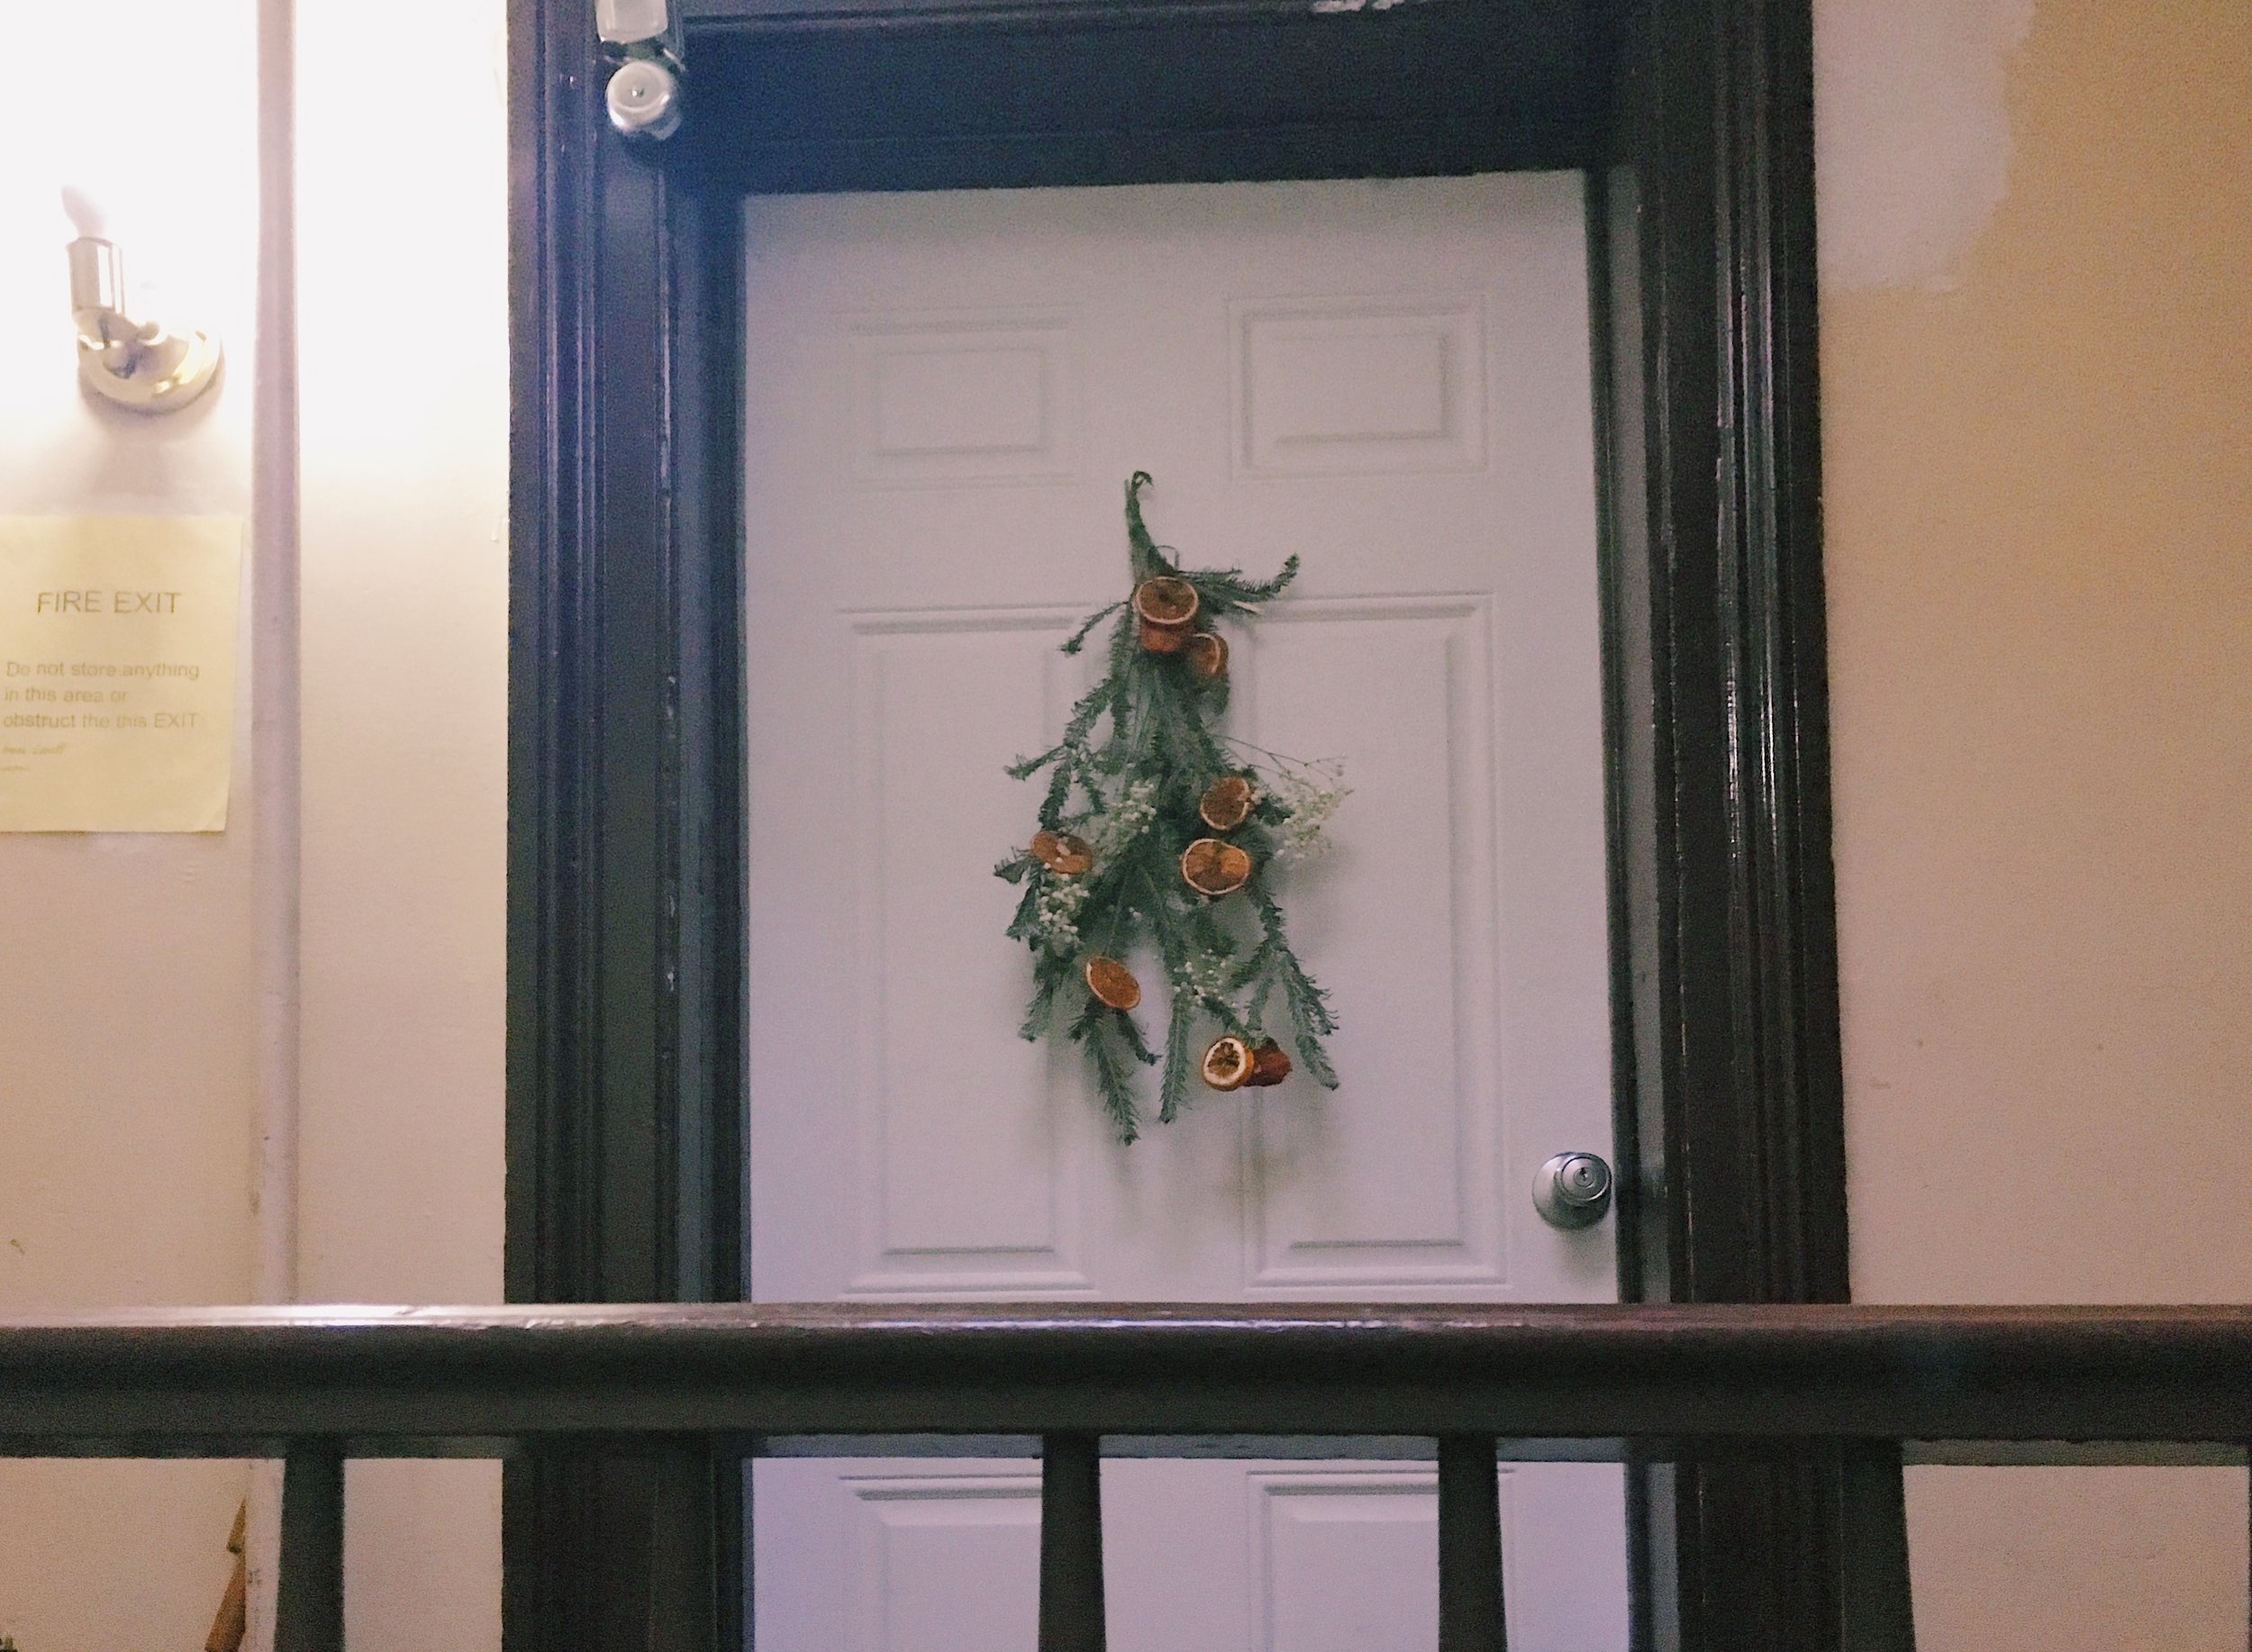
Step Three: Clear the Entryway

Whether you’re in the city or down south, there is nothing more annoying than a cluttered entryway. Piles of shoes and winter coats make for a depressing first impression, and hallelujah it’s time to clean them up! Tuck the winter coats away in the closet or underneath a bed. You can style your hooks with your go to grocery bags and a pair of rain boots, just in case. Just past the front door is a great spot to showcase your favorite spring time hats as well!

Step Four: Organize

This is my last and personal favorite step! Maybe it’s weird, but I organize when I’m anxious (or happy, or sad, or awake). The first thing we did when we bought our house was replace the cabinets surrounding the kitchen window with open shelves. This immediately flooded our otherwise seemingly small kitchen with light and gave us plenty of display space for our favorite baking necessities. Whether it’s shelves, rails, or hooks, you can’t go wrong with organizing out in the open. Add some greenery to the mix and you’ve got yourself a fully loaded Spring time kitchen. Now, don’t you feel better?


It's Spring! (But Winter killed all your plants.)

Spring is creeping into New York very slowly this year. Sunny days are followed by stretches of rain and cold, followed by a bit of sun, then back to cold rain... Last weekend, I finally had enough of waiting for warm weather. I picked a day and announced to no one in particular that it was not going to be cold anymore. (I do this every single year.) Then I got to work on changing the season in my life. I've mentioned before that I view the shift in seasons as a great chance to hit refresh on everything that's grown stale in my apartment and day-to-day. Over the next few weeks, as we dive into April, I'm going to share with you how I go about sprucing up my home for the warmer months.

First on the list: Plants.

Here's a confession: I do not have a green thumb.

I love plants. I buy plants. I kill plants.

Same cycle every time.  This is especially true during the winter when light is sparse and radiator heat make the apartment feel like a dry tropical igloo.

Before you say, "Are you following the instructions on the plant insert? Are your plants getting enough light? Are you pruning the philodendron? Are you propagating the jade?? Are you misting your succulent and singing to it?!". YES. YES. YES. I do all the things a person is supposed to do to keep plants alive. But let's keep a few things in mind:

  1. I live in a small apartment where sunlight shining through windows is the highest commodity. (In the cold months it's almost non-existent.) Finding space for all planters on the windowsills is not a thing.
  2. I have two dogs which means plants need to be non-toxic to animals. All plants which are toxic need to be on a high enough surface. (Most plants that I want are toxic to dogs because... life.)
  3. Space. Small apartments look cluttered quickly. Anything brought in must be strategic and well thought out so that G-d forbid, if you die, the NYT doesn't write a "local woman found dead in hoarder apartment surrounded by normally hard to kill plants" piece.

In light of the above, it is all but certain that when winter rolls around any plant which was happy as a clam through November is going to start looking miserable come February. This year, after much experimentation, I finally found a system that works in keeping my plants alive and even better, reviving them from near death. My very novice, not at all scientific, super trial by fire methodology is outlined below. If you are a pro-level plant whisperer, I suggest you look away now. If you're like me and just want to make your browning plant green again, read on and please share any tips and tricks you have!

First let me start by showing you the state my plants were in just a few weeks ago. These were taken the last week of February.

Safe to say they were near the end. I mean, look at this guy- totally bald! Not even a single leaf left. Sad and pathetic! I won't even show you the jade in my bathroom. The leaves looked like the back of an elephant's hide.

I almost considered scrapping everything and going to Home Depot to start fresh but then remembered I write a blog about sustainable practices so... here we are. (I only bought one thing to help me along: fresh, organic potting soil.) I lined all the counter tops in the kitchen with plastic bags and got to work on my mass revival.

Reviving Plants for the Amateur, Urban Horticulturist

  1. Carefully, gently pull and remove all the dead pieces off of each plant. Go as far as taking off anything that looks dead or dying from the top layer of the soil.
  2. Remove the plant, with the roots, and place on the plastic bag. Evaluate if the roots have rotted or are very dry. Most of my roots were very, very dry.
  3.  Replant with fresh potting soil. Make sure that your roots are about one-third of the way from the bottom of the pot and are snuggling with the new dirt.
  4. Water. Water. Water. I drowned my plants under the faucet in the sink for 15-30 seconds each.
  5. Place in the areas of the apartment where you have the most sunlight. They don't have to stay there forever but a few days will do a world of good.

After a few days with fresh soil, water, and sunlight the down trodden shrubs will start to perk up. In order to make sure that they keep getting the nutrients they need, take a fork and poke holes in the soil. Now water, water, water. Not just directly into the soil but make sure you're getting the leaves and the buds wet too. This is especially the case with succulents. Water on the actual plant does more good sometimes than in the soil. My jade came back to life after one day of giving the leaves a drink of water.

Most important rule: be gentle.

Pick three day of the week when you have time (I like mornings before work) and start a plant rotation. Water and rotate between the sunniest spots in your apartment. I try not to over water any plants that don't need it, you want to prevent root rot. (Only two of my plants get seats on the sunniest windowsill and consistent watering- basil and an herb box with mint, rosemary, and sage. Without daily sun and water, they start to shrivel up almost immediately.) My rotation takes my philodendron from the bookshelf in the bedroom on Monday to the bookshelf with a bit more sunlight in the living room on Wednesday, to full sun on Saturday by the living room window, then back to it's perch in the bedroom on Monday.

I promise you will see new life in your little garden in just a little while. Once your plants look healthy again you can drop down the rotation to just once every two weeks, but keep an eye on them!

Honestly though, absolute worst case scenario is your plants do not feel the Holy Spirit and they die. Don't beat yourself up. They're plants! Go to Home Depot, pick up a few new babies, and keep them happy for the season! Spring is for starting afresh, after all.

Make: Winter Garland

I can say with full confidence, our home is holiday ready. We've purchased gifts and even designated a bin in our closet for everything we need to transport for our annual pilgrimage to South Carolina next week. It's been so cold outside, I've been trying to spend as much time as possible indoors. Cleaning and sorting so that when we return in the new year everything will be set for us to jump right back into work and life. I hate coming back to a messy house after vacation, it's a miserable feeling. I want the apartment to feel warm and occupied, not like it's been abandoned for a few weeks.

As cozy and clean as I can make our space on the inside, what happens outside our front door is beyond my control. We live in what must have been a gorgeous brownstone in 1915. Unfortunately, judging by the cracked plaster, rickety staircase and maroon tiling, the building hasn't been renovated since the late 1970s. The eggshell color of the hallways which (with no declaration of war) shifts into what can only be described as burnt custard yellow is a dead giveaway. Seriously, I was shocked that our building wasn't scouted as a location for the new David Simon show "The Deuce", all about the underbelly of New York and the rise of porn in the 70s. They wouldn't have to do much at all, maybe add some ceiling mirrors or a shag carpet. The original decor is that seedy.

If you're lucky, you can ascend this staircase to our front door.

If you're lucky, you can ascend this staircase to our front door.

Our super is a lovely man who lives downstairs with his two sons, but there's only so much they can do without the help and financing of a less than interested landlord. In light of all this, hanging a loud and super ornate holiday wreath feels forced. There's also the bit where I don't want to spend a fortune on something which won't be seen all that much- it's not like people are driving by our third floor walk up. Even if there was traffic, you wouldn't be able to see too any of it by the light of the single exposed bulb by our front door. I'm also not sure the door could even handle that much weight. The entire building leans to the left so I'm always nervous to hang anything too heavy. Ok, I feel like I've really painted a picture for you.

For now, my Pinterest wreath dreams are going in the "when we have a house" drawer and I'm sticking with the theme of my last post- no fuss holiday.

Someday I will be incredibly fussy and have this holiday wreath of my dreams.

Someday I will be incredibly fussy and have this holiday wreath of my dreams.

I had one branch of evergreen leftover from decorating the rest of the apartment which I decided to use for a door garland. Instead of dealing with wire and traditional images of a wreath I stuck with decorating the branch as is. Like I mentioned before, I don't like to go too heavy in one direction or the other with Hanukkah + Christmas. We celebrate both, so I try to land somewhere in the middle. Plus, I like to keep our decor seasonal more than holiday because we can keep it up through the winter!

All you'll need to make this garland/wreath/hanging (you can call it whatever) is a spool of string, a branch of evergreen, some baby's breath, and a pieces of winter citrus. This whole project cost $5 and took me less than the length of an episode of The West Wing.

  1. Preheat oven to 200°F. Use any citrus or old fruit you have in the house. I had two lemons, two oranges, one persimmon. (Full disclosure the lemon was moldy. So no waste!) Cut the fruit into slices and pat dry with paper towels. Place on a cookie sheet to dry out for a few hours in the oven. Low and slow. You might burn a few slices but whatever. It's rustic. If you need more direction there's an excellent tutorial on drying fruit for ornaments here.

  2. Once ornaments are dry use the string to gently tie them to the branches of your garland. I used dark green string for camouflage purposes. You use whatever you have on hand. Don't let anyone judge you. It's string.

  3. Tie and tuck other wintry flowers into the branches of your decoration. I like baby's breath because it's inexpensive and a delicate offset to the rustic and heavy feel of the dried fruit and evergreen. It also reminds me of my wedding and I get sentimental like that sometimes.

  4. Hang it on your door. Revel in your craftiness and thrifty ingenuity. Add more bourbon to your coffee. Go back to watching The West Wing.


Festive AND it accentuates the fire exit sign.

Festive AND it accentuates the fire exit sign.